Last updated November 18, 2026








Free written scope consultation - allowances, timeline, and change-order rules on paper before a single trade is scheduled
Bathroom Remodeling Troubleshooting: Common Problems and How to Fix Them
Cracked grout in a newly remodeled shower is rarely a grout problem. In our experience across Miami, it’s almost always a substrate deflection problem – the floor or wall behind the tile is moving, and the grout is just the first thing to show it. Replace the grout without fixing the substrate and you’ll be back at the same joint next spring. This guide maps the symptoms you’re seeing to the installation errors that cause them, so you know which party to hold accountable, what a fix actually requires, and when a cosmetic patch is a waste of money.
Quick Answer
Most post-remodel bathroom problems in Miami – grout cracking, tile debonding, fan noise, slow drains, and mold at caulk joints – trace back to four installation errors: a substrate that flexes, mortar coverage that’s too thin, a caulk joint that’s missing or wrong, or a drain and vent run that wasn’t roughed in correctly. Diagnosing which error you’re looking at tells you whether the fix is cosmetic, structural, or a code problem, and that distinction is what determines whether your warranty claim gets honored or dismissed.
Styles & brands we work with
- Kitchen remodeling
- Bathroom remodeling
- Home additions & ADU
- Roofing
- Windows & doors
- Driveway & pavers
- Fence
Table of Contents
- Why Is the Grout Cracking in a New Shower?
- Why Are Tiles Loosening or Popping Off?
- Why Is Mold Coming Back at the Caulk Joints?
- Cosmetic vs. Structural Warranty Work
- Diagnosing a Noisy or Ineffective Exhaust Fan
- Tracing a Slow Drain: Simple Fix or Rough-In Error?
- How to Document a Warranty Claim
Why Is the Grout Cracking in a New Shower?
Grout cracks because the surface underneath it is moving. Grout is strong in compression and weak in movement. When the tile assembly flexes even a fraction of an inch, the grout line relieves that stress by splitting. On a job done right, it shouldn’t happen for years.
In a shower, the culprit is usually one of these:
- Insufficient substrate thickness or joist spacing. Tile backer needs a floor stiff enough that it doesn’t deflect under foot traffic. Install over a spongy subfloor and every step flexes the tile.
- No uncoupling membrane or poor thinset bond between substrate and tile. Miami’s humidity and temperature swings don’t help, but the joint fails first where the assembly moves most.
- Movement joints skipped at change-of-plane. Where wall meets floor, or where the backer meets a different material, that line needs a flexible joint, not rigid grout. Tile industry standards call these movement joints for a reason.
- Cure and grout technique. Grout mixed too wet or applied too soon after setting shrinks as it dries and splits along the weakest line.
The tell is simple: run your hand across the tile. If it rocks or if you can hear a hollow tap over a few square feet nearby, the crack is a symptom of substrate movement. Re-grouting a moving floor is cosmetic work that fails within a season. The real fix means removing tile, assessing the substrate, and correcting it – which is structural warranty work, not a callback grout touch-up. If your shower is part of a larger bathroom remodeling project in Miami, get the substrate and the warranty terms in writing before any tile goes down.
Why Are Tiles Loosening or Popping Off?
Tile debonds when mortar coverage is too thin or the wrong thinset was used. The industry target is high mortar coverage under the tile, and corners are exactly where coverage gets thinnest. A tile that feels hollow when tapped, or lifts at an edge, is telling you it’s only held at a few points.
The common causes, in order of how often we see them:
- Spot-bonding instead of full coverage. Dollops of thinset at the tile corners rather than a full, troweled bed. Fast, and it looks fine for a year.
- Wrong thinset for the tile or the substrate. Large-format tile over a cement board needs a different mix than porcelain over a membrane. Mixing by feel instead of by spec is a common shortcut.
- No lippage control. Clips and wedges keep adjacent tiles level as the mortar cures. Skip them on a large-format floor and you get uneven tile plus thinner mortar under the low edges.
- Water or dust on the back of the tile. A dusty backer or a damp tile face blocks adhesion and nothing sticks.
Hollow taps are the diagnostic tool. Tap across the field with a screwdriver handle or a small mallet; a hollow sound means air behind the tile. If you find a cluster of hollow tiles, the coverage problem is probably across the whole run, not one tile. This is the kind of defect that only surfaces under normal use over months, which is exactly the window a written guarantee is meant to cover.
Why Is Mold Coming Back at the Caulk Joints?
Mold returns at caulk joints because the joint was grouted instead of caulked, or the wrong caulk was used at a change-of-plane. Tile industry guidance is direct here: anywhere two planes meet – wall to floor, wall to wall, tub to wall – that line needs a flexible, mold-resistant sealant, not grout. Grout is rigid and porous, and in Miami’s humidity it’s a foothold.
Here’s the difference that matters:
- Grout at a movement joint cracks as the assembly moves, and moisture gets behind it. Dark staining at the joint is usually the first sign.
- Standard silicone seals but doesn’t always handle the mold exposure in a wet zone.
- The right product is a flexible, mold-resistant sealant rated for wet areas, applied to clean, dry joints at the correct depth.
In our Miami work, the failure we see most in older properties near the coast is caulk applied over grout that was never cut out – the sealant sits on top of a wet, dark joint and traps the problem under a clean-looking surface. If black staining comes back within weeks of a re-caulk, the joint wasn’t correctly prepared, or there’s moisture migrating from behind. Re-caulking is a legitimate cosmetic fix when done right; if mold keeps returning, the waterproofing layer behind the tile is worth investigating. Waterproofing is structural. Get it defined in writing before you pay for it.
Cosmetic vs. Structural Warranty Work: Why You Need Both Defined
You need both kinds of warranty work defined in writing, because contractors routinely cover one and not the other. The gap between the two is where most disputes live.
Here’s how the split usually looks:
- Cosmetic warranty work covers re-caulking, grout touch-ups, paint touch-up, and minor finish imperfections. Short-term appearance items, usually resolved without opening anything up.
- Structural warranty work covers re-waterproofing, substrate repair or replacement, substrate deflection, tile replacement, and any failure that requires removing finished surface to fix.
Ask both questions before you sign: what does the warranty cover, and for how long? A guarantee that only covers cosmetic touch-ups will not get your shower floor rebuilt when the substrate fails. This is where Bradford Remodeling Co Miami’s 365-Day Done Right Promise does its work: every completed project carries a full-year written guarantee, and if the work fails inside that window, we return and correct it at no charge. The scope of what’s covered goes on the page with the price, not in a conversation after something breaks.
Ask for two things from any contractor: the specific list of covered items, and the specific defects the guarantee excludes. If a contractor can’t hand you both on paper, you don’t have a warranty. You have a promise you’ll have to argue about later. Pair that with a written price before work starts – no numbers that move at the door – and you’re working from the same page you started on.
Diagnosing a Noisy or Ineffective Exhaust Fan
To size an exhaust fan, measure the bathroom’s cubic footage and match it to a fan that moves enough air per minute for the room. Take length times width times ceiling height, then use the standard sizing rule the bath fan listings follow. Undersize the fan and the room stays damp; oversize it and you pull conditioned air straight out of the house.
If the fan is technically correct and still underperforming, the problem is upstream. Check these in order:
- Measure the room. Length x width x ceiling height gives you the cubic footage. Compare that to the fan’s rated CFM (cubic feet per minute) on its label or spec sheet.
- Run the fan and hold a tissue against the grille. If it barely holds, airflow is weak and the unit is probably fine – the duct run is the problem.
- Inspect the duct run. Short, straight, rigid duct to the outside is best. Long runs, too many elbows, crushed flex duct, or a duct that dumps into the attic instead of outdoors cut airflow and push noise back into the room.
- Check the exterior vent. A stuck damper or a vent clogged with debris drops the whole system’s performance.
Distinguish the two failure modes: a unit problem sounds like a grinding or rattling motor; a duct problem sounds like air noise and feels like weak suction. In a Miami bathroom that runs humid most of the year, an exhaust fan that’s quiet but ineffective lets moisture sit on grout and caulk until the next failure starts. Fix the airflow, not just the noise.
Tracing a Slow Drain: Simple Fix or Rough-In Error?
A slow drain is usually a simple clog or a shallow P-trap, but if the drain gurgles when the toilet flushes, suspect a vent stack issue. Sorting simple from serious saves you from opening a floor you didn’t need to touch.
Work through the checkpoints in order:
- Check the trap and stopper first. Hair and soap at the strainer and a collapsed pop-up stopper cause most slow drains. Pull the stopper and clear it before anything else.
- Check the P-trap slope. The P-trap holds water as a seal against sewer gas. A trap set with too little fall holds water and slows the drain. You can’t always see this, but a plumber can.
- Test the vent. A drain that gurgles, pulls bubbles, or drains in fits is telling you the vent stack is blocked or undersized. Code requires proper venting; a missing or blocked vent is a rough-in problem, not a clean-out problem.
- Look for a re-riser or joist violation. A new drain cut through a joist without proper reinforcement, or a rough-in placed where the existing plumbing couldn’t slope correctly, means opening the floor or ceiling below.
A simple clog is a one-visit fix. A blocked vent or a bad trap slope is plumbing rough-in work that requires the right trade, and it’s the line between “snake the drain” and “open the ceiling.” If the drain was slow from the first week after the remodel, it was never right.
How to Document a Warranty Claim (So It Gets Honored)
Document a warranty claim with dated photos, a written description of the failing symptom and where it appears, and a follow-up sent in a way that proves delivery. A paper trail turns a phone conversation into a record the contractor has to answer.
Build the file in this order:
- Photograph. Overall shot of the room, then close-ups of the failure, with a tape measure or your phone’s date stamp in frame. Note the light and the area of the room in each photo.
- Write it down. Plain-language symptoms: “Crack along the shower floor-to-wall joint, about 18 inches, appeared in month seven. Hollow tap over the two tiles at the drain curb.” Include what you already tried.
- Check the warranty terms. Confirm whether the item is cosmetic or structural and that you’re inside the guarantee window.
- Submit in writing and keep a copy. Email with the photos attached, then a call to confirm they received it. Note who you spoke to and when.
- Follow up in writing with a date and a request for a response. Do not accept a verbal “we’ll get to it.”
For a claim that’s being ignored, a certified letter establishes a record of notice. It costs a few dollars and it changes the conversation. The reason this matters is that a written guarantee is only as useful as the paper trail behind the claim, and both sides should know exactly what was agreed to before work started.
Common Mistakes to Avoid
- Re-grouting a moving floor. If the tile rocks or sounds hollow, the substrate is the problem. A new grout line over a flexing surface cracks again within a year.
- Caulking over wet grout. Sealant applied over water-trapped joints fails fast. In Miami’s humidity, prep is the whole job – cut out, dry, then seal.
- Accepting a warranty that only covers cosmetic work. A guarantee without the structural scope in writing will not rebuild a shower that leaks.
- Sizing an exhaust fan by the grille, not the cubic footage. A fan that’s the wrong CFM for the room either under-dries it or pulls your A/C outside.
- Assuming a slow drain is a clog. Gurgling and bubbles mean the vent, and that’s a rough-in issue, not a snaking job.
- Signing without a written price. “We’ll figure the rest out when we open it up” is how budgets move at the door. Get the range in writing before tools come out.
- Filing a claim by phone only. No paper trail, no leverage. Email, photos, and a written follow-up create the record a guarantee is built to answer.
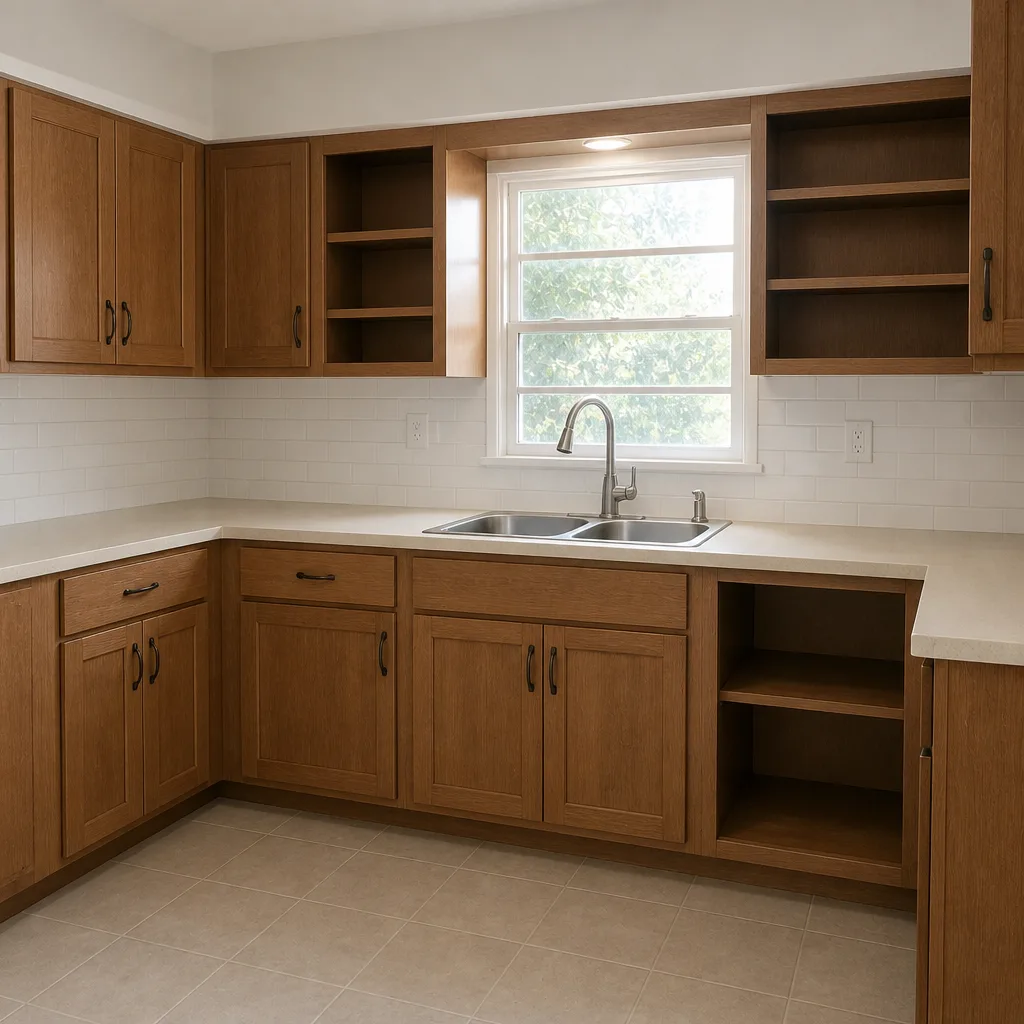
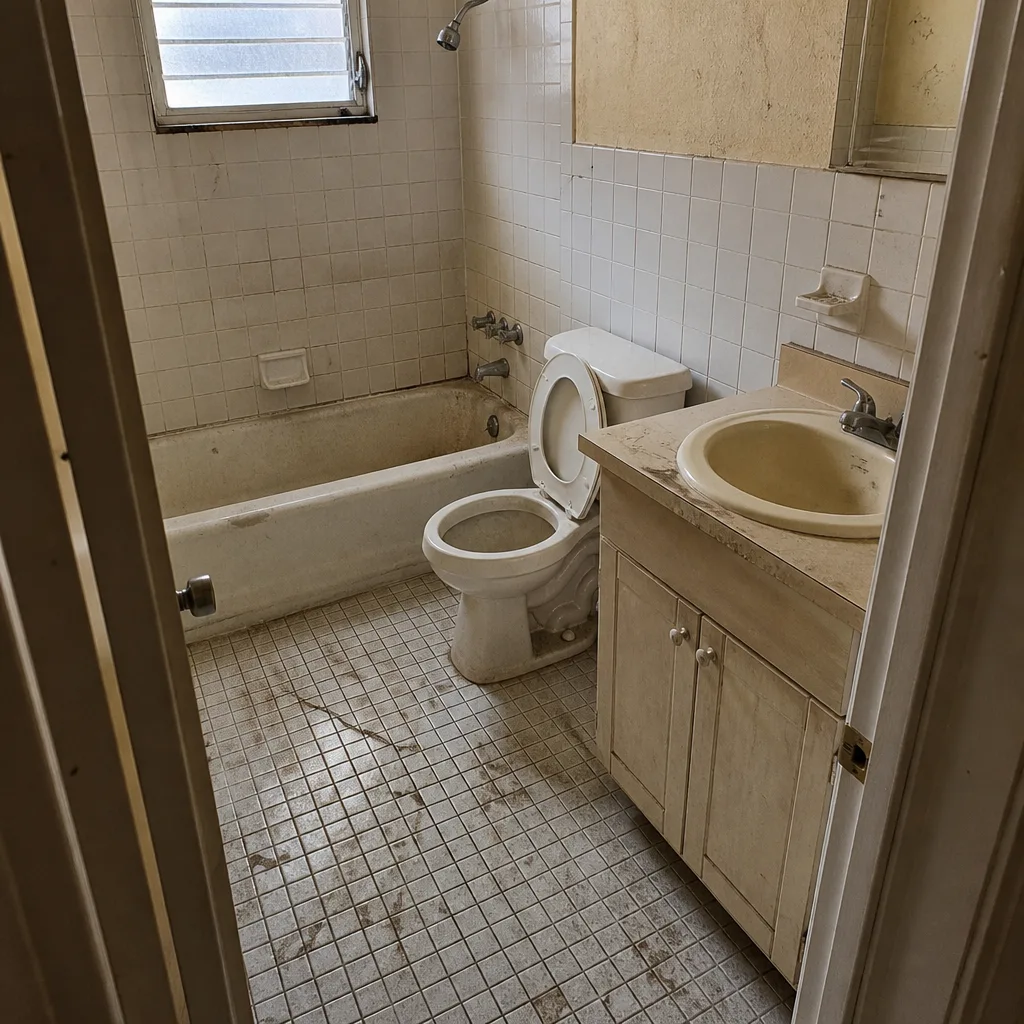
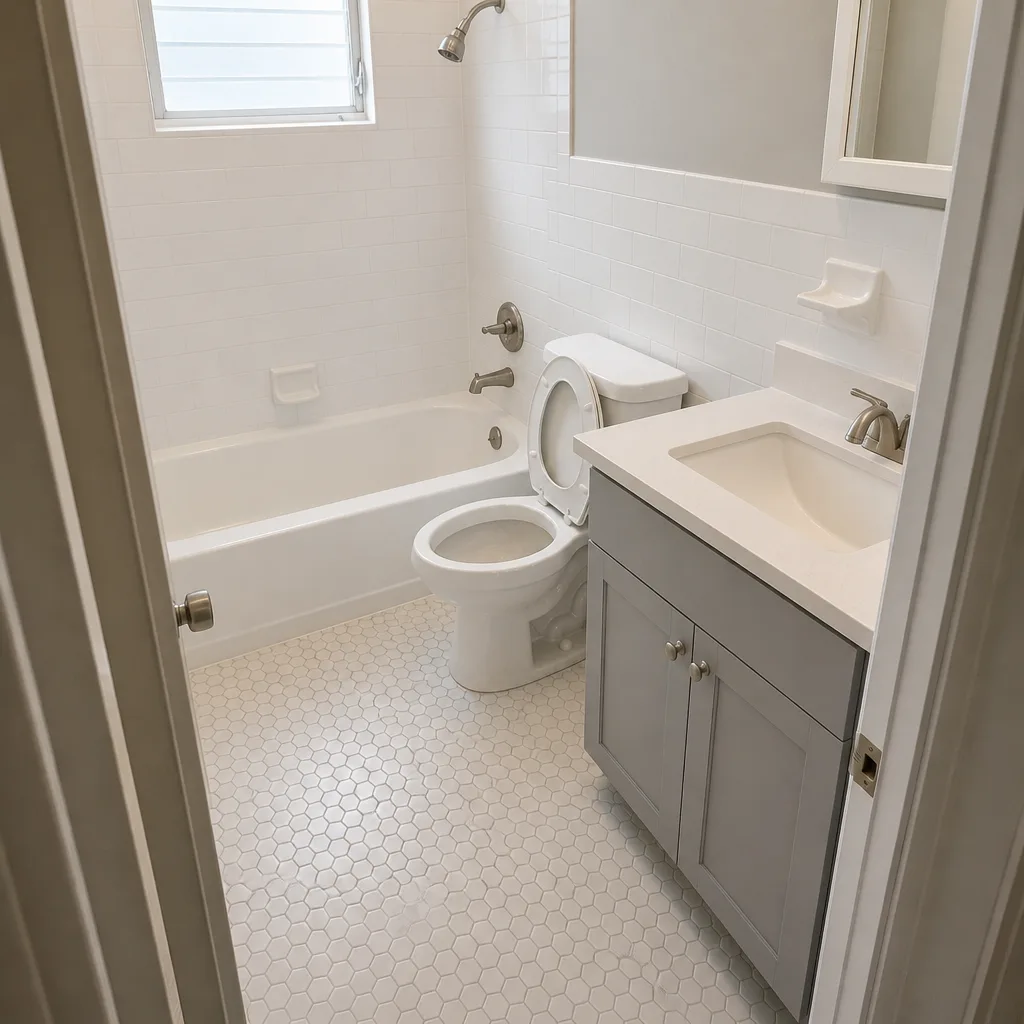
See the difference
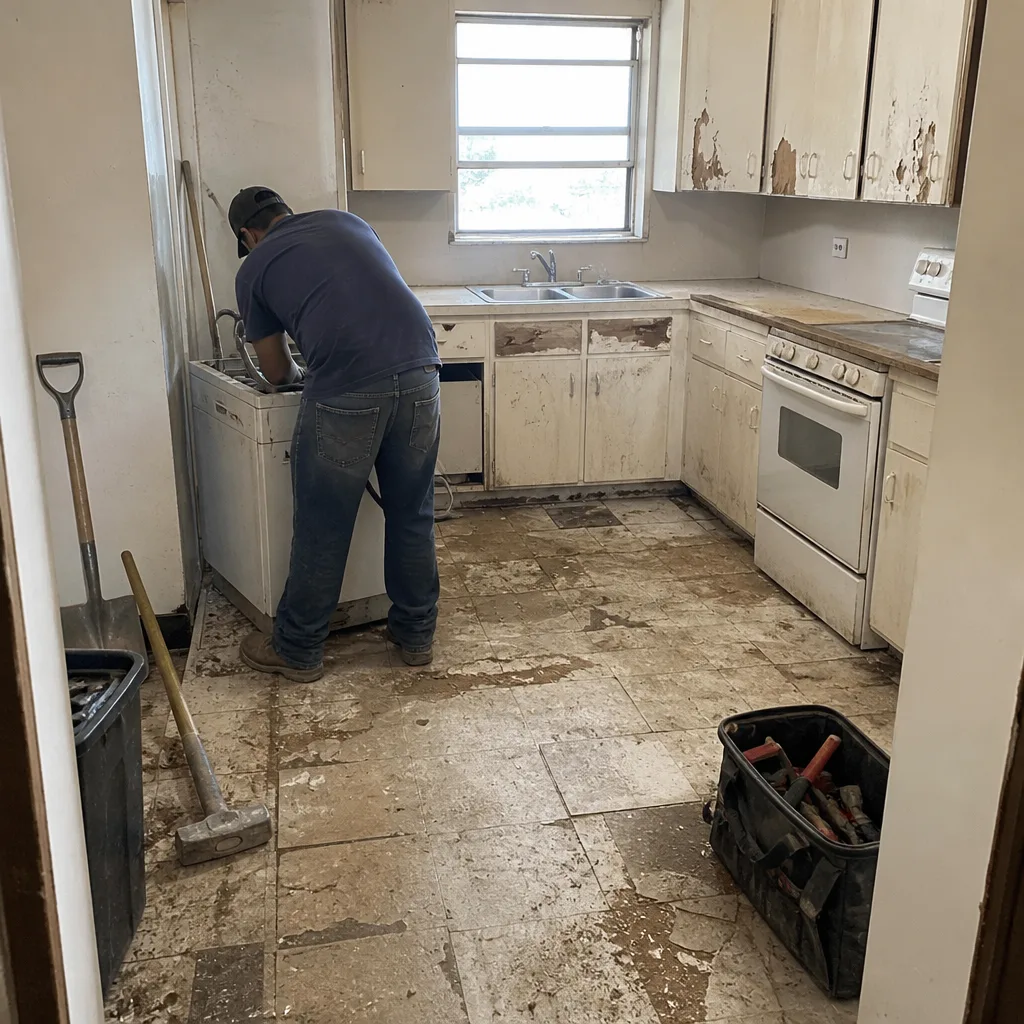 Before
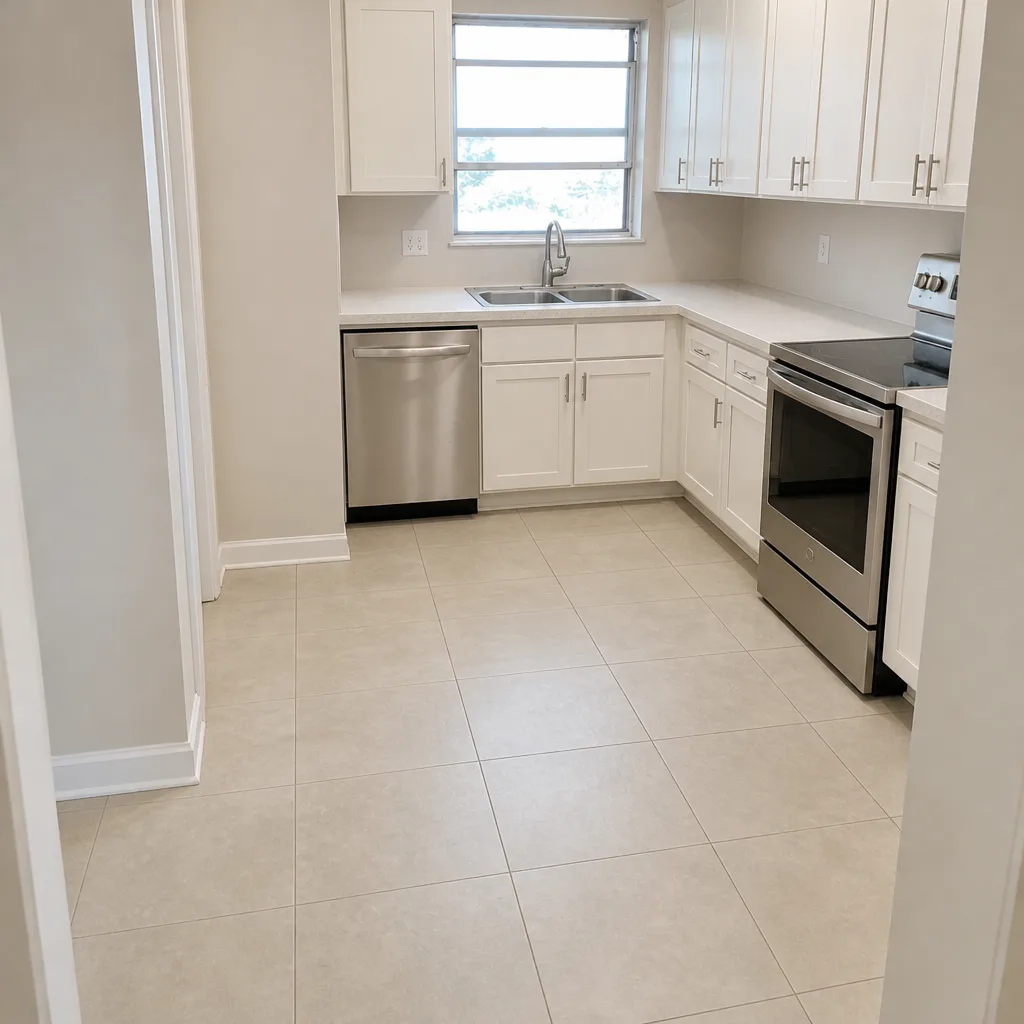 After
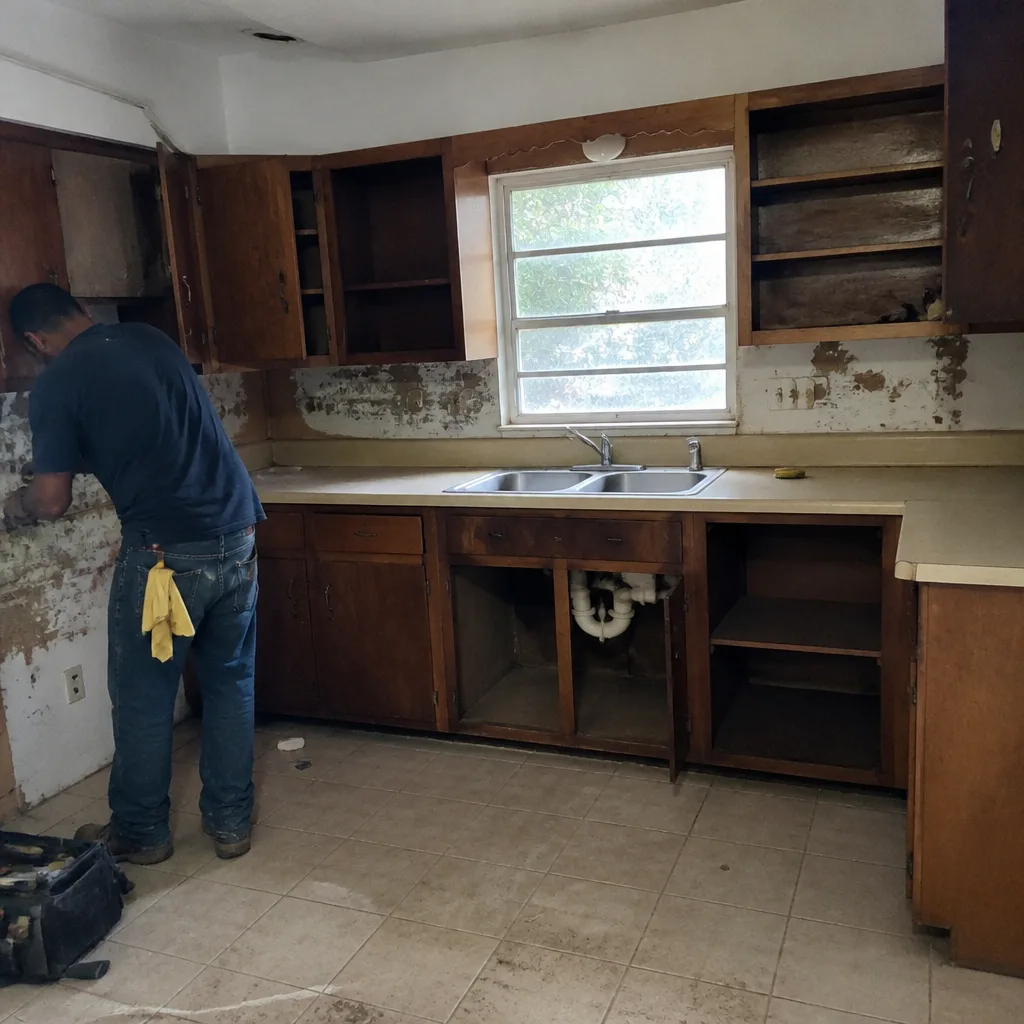 Before
 After
 Before
 After
When to Call a Professional
Call a professional when the failure is structural, electrical, plumbing rough-in, or code-related – and don’t hand a shower rebuild to a handyman with silicone and a caulk gun. The specific cases that warrant a call in Miami: hollow tiles or a rocking shower floor (substrate failure), a drain that was slow from week one or gurgles when another fixture runs (vent or trap slope), mold that returns within weeks of a re-caulk (waterproofing behind the tile), and any exhaust fan that needs a duct run reworked rather than a unit swapped. These are jobs where the wrong first fix costs more than the right one – and where you want the scope and the guarantee defined before anyone opens a wall.
Bradford Remodeling Co Miami offers free estimates in Miami. A background-checked, uniformed tech walks through the diagnosis with you, and you get a written price before any work starts. Call (844) 797-4435.
Frequently Asked Questions
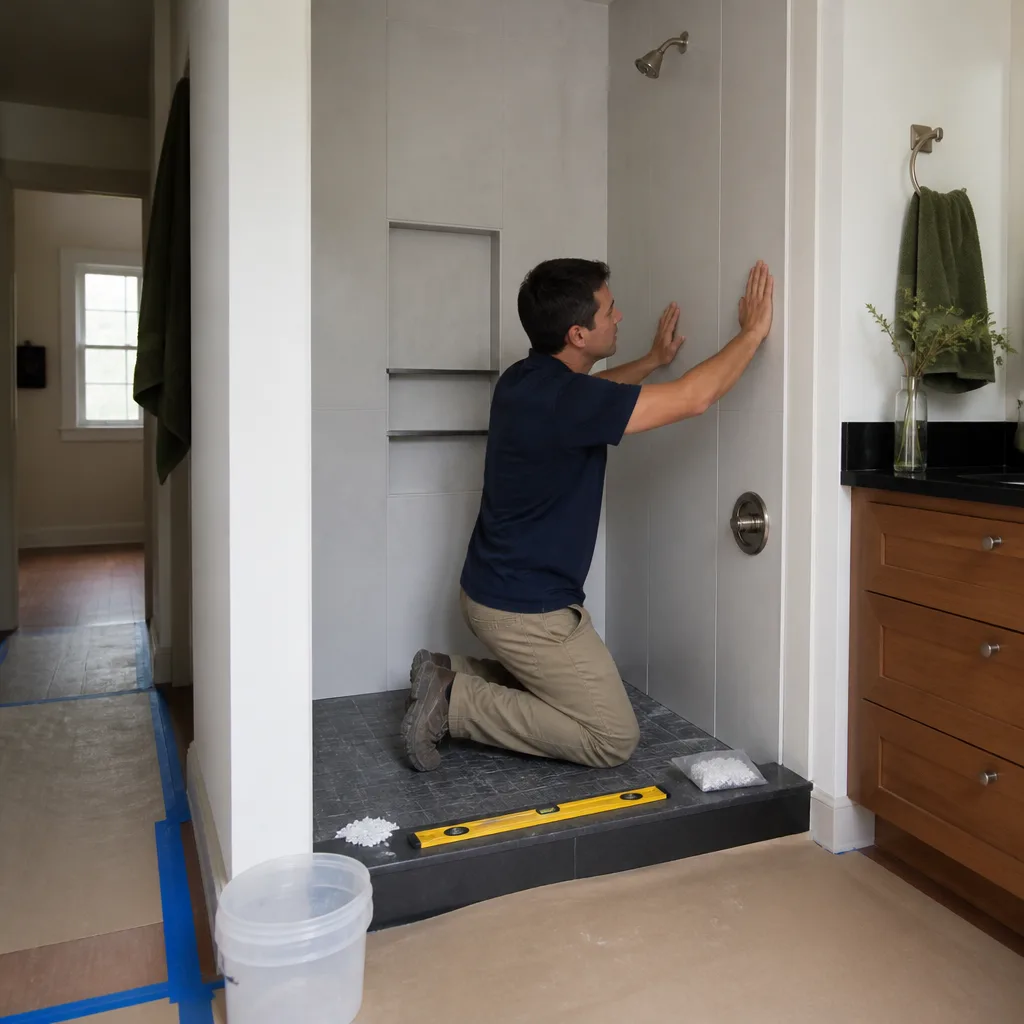
It depends on why it cracked. If the cause is cosmetic shrink, it’s usually a quick touch-up. If the cause is substrate movement, it’s structural warranty work and should be corrected by removing tile and fixing the substrate underneath. Check your written guarantee for whether substrate failures are listed; a good one spells it out. Call (844) 797-4435 for a free estimate on diagnosing the cause.
Hollow tiles mean there’s air behind them, usually from thin mortar coverage or spot-bonding instead of a full troweled bed. Tap across the field with a screwdriver handle: a hollow sound confirms the void. A cluster of hollow tiles points to a coverage problem across the whole run, not one bad tile. Don’t wait – loose tile in a wet zone lets water behind the waterproofing.
If the drain gurgles, bubbles, or drains in spurts, or if another fixture flushing causes a change in the drain, the vent stack is the likely cause – that’s a rough-in problem, not a clog. A drain that simply runs slow is usually hair or soap at the strainer. Clear the stopper and strainer first, then test. If it gurgles after clearing, call a plumber.
Size the fan by the room’s cubic footage – length x width x ceiling height – and match it to a fan rated for that airflow (CFM) per the manufacturer’s sizing chart for the ceiling height. Then check the duct run: a fan that’s correctly sized but ducted through a long, kinked run delivers weak airflow and noise back into the room. In Miami’s humidity, an effective fan is what keeps grout and caulk from staying wet.
No. Caulking over wet or moldy joints traps the moisture and the mold returns. The joint has to be cut out, cleaned, and dried, then sealed with a flexible, mold-resistant product rated for wet areas at change-of-plane transitions. If it comes back within weeks, the problem is likely waterproofing behind the tile, which is structural work. Call (844) 797-4435 for an estimate.
Yes. A permitted remodel keeps you covered on inspections and on record with the building department, which matters for resale and for warranty claims. Your written scope lists the permit work up front, and the price is set before work starts – no numbers that move at the door. Call for a free estimate in Miami.
The Bottom Line
Post-remodel bathroom problems almost always trace back to one of four installation errors: a substrate that flexes, thin mortar coverage, missing or wrong caulk at change-of-plane joints, and a drain or vent rough-in that was wrong from day one. Knowing which one you’re looking at is the difference between calling the right party and living with a fix that fails again next year. Get the warranty in writing, covering both the cosmetic and structural work, and you’ll have the grounds to hold the right party accountable when something cracks. Bradford Remodeling Co Miami works with documented name-brand materials – including James Hardie products where exterior work is involved – and stands behind every project with a written guarantee. Call (844) 797-4435 for a free estimate in Miami today.
Written by the team at Bradford Remodeling Co Miami.