Last updated November 18, 2026





Free written scope consultation - allowances, timeline, and change-order rules on paper before a single trade is scheduled
Kitchen Remodeling Troubleshooting: Common Problems and How to Fix Them
The most expensive kitchen remodel mistake isn’t a botched tile job. It’s a cabinet install that starts before the plumber’s rough-in is inspected, because now the wall has to come back open and the cabinet schedule slides three weeks. In our experience across Miami kitchens, the failures that cost real money almost never happen inside a single trade’s work. They happen in the handoff between trades, where one crew leaves and the next one shows up assuming the last one finished clean. This guide walks each of those handoffs and tells you exactly what to check before the next trade walks through the door.
Quick Answer
Kitchen remodel problems mid-project cluster around four trade handoffs: demo to rough-in, rough-in to cabinet install, cabinet install to countertop template, and countertop to appliance hookup. Each handoff has a specific inspection checkpoint that must close before the next trade starts, and each problem has a specific resolution depending on which trade caused it. Fix the process at the handoff and most “mid-project disasters” never happen.
Styles & brands we work with
- Kitchen remodeling
- Bathroom remodeling
- Home additions & ADU
- Roofing
- Windows & doors
- Driveway & pavers
- Fence
Table of Contents
- Handoff 1: Demo to Rough-In
- Handoff 2: Rough-In to Cabinet Install
- Handoff 3: Cabinet Install to Countertop Template
- Handoff 4: Countertop to Appliance Hookup
- Cabinet Doors That Won’t Hang Straight: Whose Fault Is It?
- Appliance Delivery Damage: How to Document It
- How to Reject Defective Work in Writing (Florida)
- Miami-Specific Issues: Humidity, Salt Air, and Code
Handoff 1: Demo to Rough-In
This is the most overlooked handoff in the whole job, and it’s where Miami’s humidity makes things worse. Demo finishes, the electrician and plumber arrive to rough-in new lines, and if nobody has confirmed the wall substrate is sound first, you’ll be opening it back up in three weeks. Rough-in means the plumbing and electrical lines are run inside the walls but not yet connected to fixtures; it’s the skeleton behind your finished kitchen.
Before the rough-in crew starts, verify these checkpoints:
- Substrate inspection. In older Miami-Dade homes, especially the 1960s-era construction common in neighborhoods like Westchester and Coral Gables, demo often reveals rot or termite damage behind the old cabinets. It has to be repaired before new lines go in.
- Wall cavity confirmation. The rough-in crew needs open, unobstructed cavities. If a demo crew left unexpected framing or a hidden chase, that’s a two-day schedule loss.
- Utility shutoff documentation. Water and gas shutoffs should be tagged and photographed so the plumber knows where the live lines are before opening anything.
- Rough-in inspection scheduling. In Miami-Dade County, the rough-in inspection has to be requested and passed before the drywall closes. If the GC hasn’t scheduled it, the job stalls.
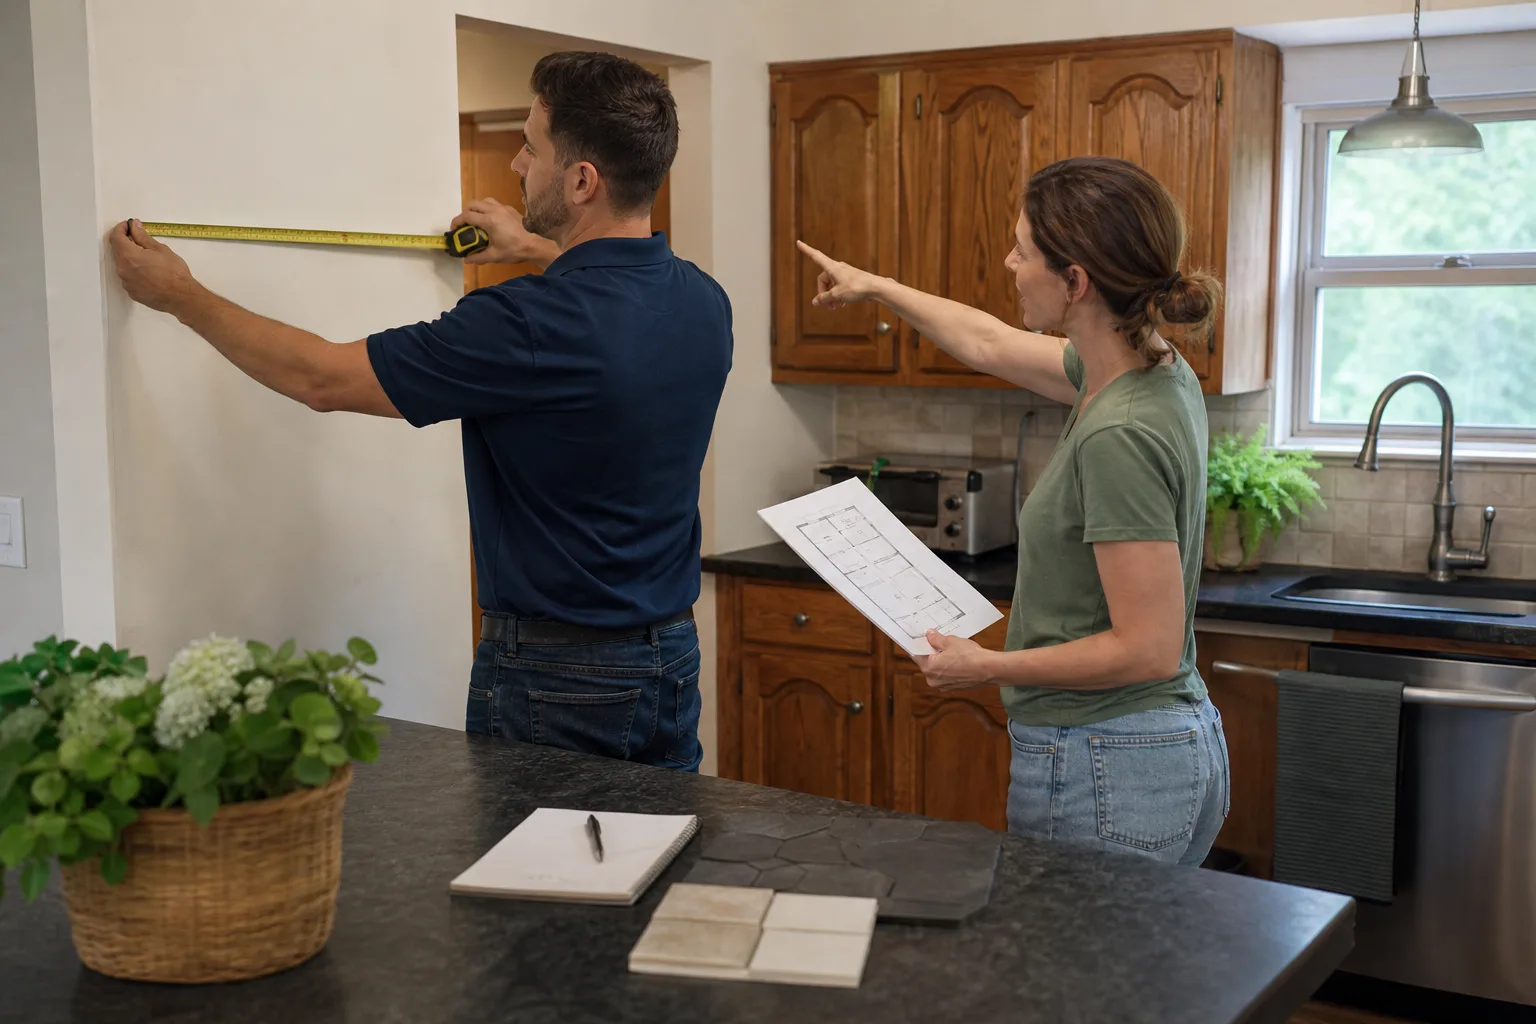
Whose responsibility is the substrate repair? It depends on the contract. If your GC bid “demo to bare studs,” the substrate is on them. If they bid “demo to substrate,” you may be looking at a change order. Get this clarified in the written scope before demo starts, not after.
Handoff 2: Rough-In to Cabinet Install
Rough-in is done. The electrician and plumber have run their lines, the inspection passed, the drywall is closed. Now the cabinet installer shows up. If they start setting cabinets before the rough-in inspection is signed off, and the inspector later flags a problem, the cabinets have to come off the wall. This exact sequence failure is why we insist every rough-in inspection closes before a single cabinet box touches the wall.
The checkpoints before cabinets start:
- Signed inspection card in hand. Not “we think it passed.” A signed inspection card or digital confirmation from the county inspector.
- Rough-in locations marked on the wall. The cabinet installer needs to know exactly where the electrical outlets, water lines, and drain stub-out are, so they don’t put a screw through a pipe. A common mid-project disaster in Miami kitchens is a cabinet screw through a water line behind the wall, discovered only when the sink is hooked up.
- Wall plumb confirmed. A cabinet wall that’s out of plumb by more than 1/8 inch over the full run will make doors hang crooked. This is checked now, before install, not after.
- Floor level confirmed. Miami slab floors are frequently out of level. If the cabinet run needs shimming, it’s done at install, and the countertop template has to account for it.
Cabinet specifications from a documented brand roster (we install KraftMaid and Wellborn cabinetry, among others) come with manufacturer installation specs. Those specs specify the wall and floor tolerances the installer is required to meet. If the installer skips them, that’s a workmanship issue, not a cabinet defect.
Handoff 3: Cabinet Install to Countertop Template
Countertop templating happens after the cabinet boxes are set and leveled but before the countertop is fabricated. If the template crew measures against an out-of-plumb cabinet run, the fabricated slab arrives wrong. This is the single largest source of countertop disputes we see in Miami remodels.
Whose fault is a mismatch? It depends entirely on who measured against what:
- If the template crew measured an out-of-plumb cabinet run that the cabinet installer left that way: cabinet installer error. They’re responsible for re-leveling before the countertop is fabricated, and the countertop fabricator’s re-template is on them.
- If the template crew measured correctly but the fabricator cut the slab to a different spec: fabricator error. The slab is their loss.
- If the cabinet run is within tolerance but the wall behind it is bowed: the GC or framer’s responsibility, depending on scope. Sometimes the countertop scribes in fine, sometimes a filler piece is needed.
The resolution process: pull the template measurement sheet and the installer’s level documentation side by side. That’s why your GC should be documenting cabinet level and plumb with photos at install. Cambria and Caesarstone slabs are cut to spec; a slab fabricated against a bad template isn’t a material defect and the material warranty won’t cover it. The cost lands on whichever trade measured against the wrong thing, and that’s determined by the documentation.
Handoff 4: Countertop to Appliance Hookup
The countertop is set, the sink is dropped in, and appliances are delivered and hooked up. This is where delivery damage surfaces, and where the documentation you kept at delivery decides who pays for it.
Checkpoints before appliance hookup:
- Countertop cured and sealed. Silicone and seam adhesive need the manufacturer’s cure time before any appliance is pressed against them.
- Gas line ready. The rough-in pipe has to be present, capped, and ready for the appliance hookup. A gas range hooked up to a line that hasn’t been pressure-tested is a safety issue. Gas line work is not a homeowner job: call a licensed plumber or gas fitter for anything involving the gas connection.
- Electrical outlet positioned correctly. The range outlet, dishwasher circuit, and disposal switch need to be exactly where the appliance specs say. Twelve-inch off is a two-day rework.
- Delivery photos taken before signing. Every appliance photo from every angle, including the back, before the delivery driver leaves.
Squared away at close looks like this: the appliance is installed, tested, photographed, and the delivery receipt is signed only after you and the driver have documented any existing damage. No exceptions, no “we’ll take care of it later.”
Cabinet Doors That Won’t Hang Straight: Whose Fault Is It?
An out-of-alignment cabinet door is either a cabinet defect, an installation error, or an out-of-plumb wall, and the diagnostic sequence runs from cheapest fix to most expensive:
- Check the hinges first. European-style concealed hinges (standard on KraftMaid and Wellborn boxes) have adjustment screws for depth, horizontal, and vertical. A door that’s out by a quarter-inch shifts with a screwdriver in two minutes. If it corrects with hinge adjustment, it’s a finish adjustment, not a defect.
- Check the cabinet box for square. A factory box that’s racked out of square is a cabinet defect and the manufacturer replaces it. This shows as a door gap that’s wider at one corner than the other on every door on that box, no matter how the hinges are adjusted.
- Check the cabinet run for plumb and level. If the box is square but the run is out of plumb against the wall, that’s an installation error. The installer shims and re-levels. If the wall itself is out of plumb beyond tolerance, that’s a framing issue and falls to the GC.
In Miami, salt air and humidity around the coast accelerate hinge corrosion, and doors hung near a coastal exposure sometimes need stainless hinges. If you’re seeing rust on the hinges within the first year, the hardware spec may have been wrong for the exposure, not the cabinet. Call the installer before you touch the door – adjusting a door on a cabinet that needs to come off the wall can void the box warranty.
Appliance Delivery Damage: How to Document It
Delivery damage is the single most common mid-project dispute in Miami kitchen remodels. The retailer, the delivery company, and the GC each point at the other. Your leverage is the delivery receipt, and it’s gone the moment you sign a clean one.
The documentation process:
- Inspect the appliance fully before signing. Top, front, sides, back, and inside the appliance. Unbox it on the truck or in the driveway if you have to.
- Photograph every defect. Dented door, chipped enamel, scratched stainless, cracked glass. Full-frame and close-up, with the packaging visible in at least one shot.
- Write the damage on the receipt. Note the specific defect on the delivery paperwork and have the driver sign it. “Dent on left side of range, 4-inch vertical crease” is documentation. “Some damage” is not.
- Refuse delivery if damage is significant. Write “refused due to damage” on the paperwork and send the appliance back. It’s easier to reorder than to pursue a claim.
- Report to the retailer within 24 hours in writing. Email with photos attached creates a paper trail the retailer’s claims department can act on.
Against the retailer, the signed receipt with damage noted is your leverage. Against the GC, the leverage is different: if the GC accepted delivery on your behalf without inspection, that’s a GC accountability issue under the scope of work. Document both paths and put the ball back in the GC’s court in writing.
How to Reject Defective Work in Writing (Florida)
Rejecting defective work without blowing up the job takes a specific written process. Under Florida law, contract disputes over workmanship are governed by Florida Statutes 489 and 713, and the courts expect documented notice before litigation. The written rejection is what keeps your job moving instead of stalled.
- Identify the specific defect in trade language. “Tile lippage exceeds ANSI A108.02 standard of 1/32 inch” is documentable. “Tile looks bad” is not.
- Reference the contract and scope. Quote the exact line in the written scope that the work fails to meet. This ties the rejection to a contract term, not a preference.
- Give a specific corrective action and deadline. “Re-set the four rear-row tiles by [date],” not “fix it whenever.”
- Send in writing, with photos, by email and certified mail. Both, always. Email is fast; certified mail is legally documented receipt.
- Withhold final payment for the specific defect, not the whole job. Under Florida lien law, withholding the full remaining balance over one defective tile line can weaken your position. Withhold the estimated cost of the corrective work plus a reasonable margin.
- Offer to proceed with the rest of the job pending resolution. The goal is a fix, not a work stoppage. A written rejection that specifically releases the non-defective work to continue keeps the schedule intact.
If your GC runs your job under The Garrison Standard, the written price and the signed scope make this process much cleaner, because there’s a document to point at. That’s the practical value of a written contract – not the legal language, but the fact that both sides know exactly what “done” looks like.
Miami-Specific Issues: Humidity, Salt Air, and Code
Miami kitchens fail in ways that kitchens in Denver and Phoenix don’t. The humidity, salt air, and building code create a specific set of mid-project traps.
- Humidity and cabinet expansion. Miami’s year-round humidity above 70% average swells wood cabinet box sides and doors. If cabinets arrive from an out-of-state factory and sit in an unconditioned garage for a week, the doors rack. In our experience, the tension between the delivery schedule and the install schedule matters more in Miami than in dry climates.
- Salt air and hardware. Within two miles of the coast, standard zinc-plated cabinet hinges and drawer slides corrode in 12 to 24 months. Specify stainless or marine-grade hardware if you’re near the water in neighborhoods like Key Biscayne, Coconut Grove, or Miami Beach.
- Miami-Dade product approval. Cabinets, countertops, and appliances in Miami-Dade high-velocity hurricane zones sometimes need product approval under the county’s NOA (Notice of Acceptance) system. This is not a standard cabinet spec, and a GC who doesn’t know this will spec cabinets that fail inspection.
- Water line specifications. Miami’s water is hard, and cheap braided stainless supply lines fail at the fitting within a few years. Kohler and Moen supply lines meet the manufacturer spec that a licensed plumber’s installation is written against. A mid-range kitchen remodel with cheap supply lines is a mid-project flood waiting to happen.
We’ve spent years working in Miami kitchens across the county, and the through-line is always the same: the project that fails is the one where the trade handoff wasn’t documented. Our crews work under the same written standard on every job, and if you need a licensed plumber or electrician on a rough-in, we don’t improvise it, we call the trade that owns that code. See our Kitchen Remodeling in Miami page for scope details, or our Bradford Remodeling Co Miami home page for the full-service picture.
Common Mistakes to Avoid
- Letting the cabinet installer start before the rough-in inspection is signed off. The inspectors in Miami-Dade don’t overlook this, and a late flag means the cabinets come off the wall and the schedule slides. Wait for the signed card.
- Ordering cabinets and countertops on the same delivery schedule. Countertops have to be templated after cabinets are set, leveled, and confirmed. Ordering both for the same week is a recipe for a wrong-slab fabrication.
- Signing the appliance delivery receipt without full inspection. Once the signature is clean, the retailer’s claims department treats the damage as pre-existing. Photograph first, sign second.
- Choosing hardware for the coast without checking the finish. Zinc-plated hinges and slides near Biscayne Bay are rusting within 24 months. Specify stainless or marine-grade at the cabinet order, not at the install.
- Accepting a verbal “we’ll fix it” without written notice. In Florida, the written rejection is what protects your position. If it’s not in writing, it’s a preference the GC can ignore.
- Skipping the substrate inspection at demo. Old Miami homes, especially in Westchester and Kendall, hide rot behind the old cabinet run. If your GC doesn’t inspect the substrate before the plumber roughs in, the schedule you agreed to is fiction.
- Hiring a GC who won’t put the written price in writing. Mid-project pricing disputes are the number one cause of a stalled Miami kitchen. A written price before any work starts is the only defense.
See the difference
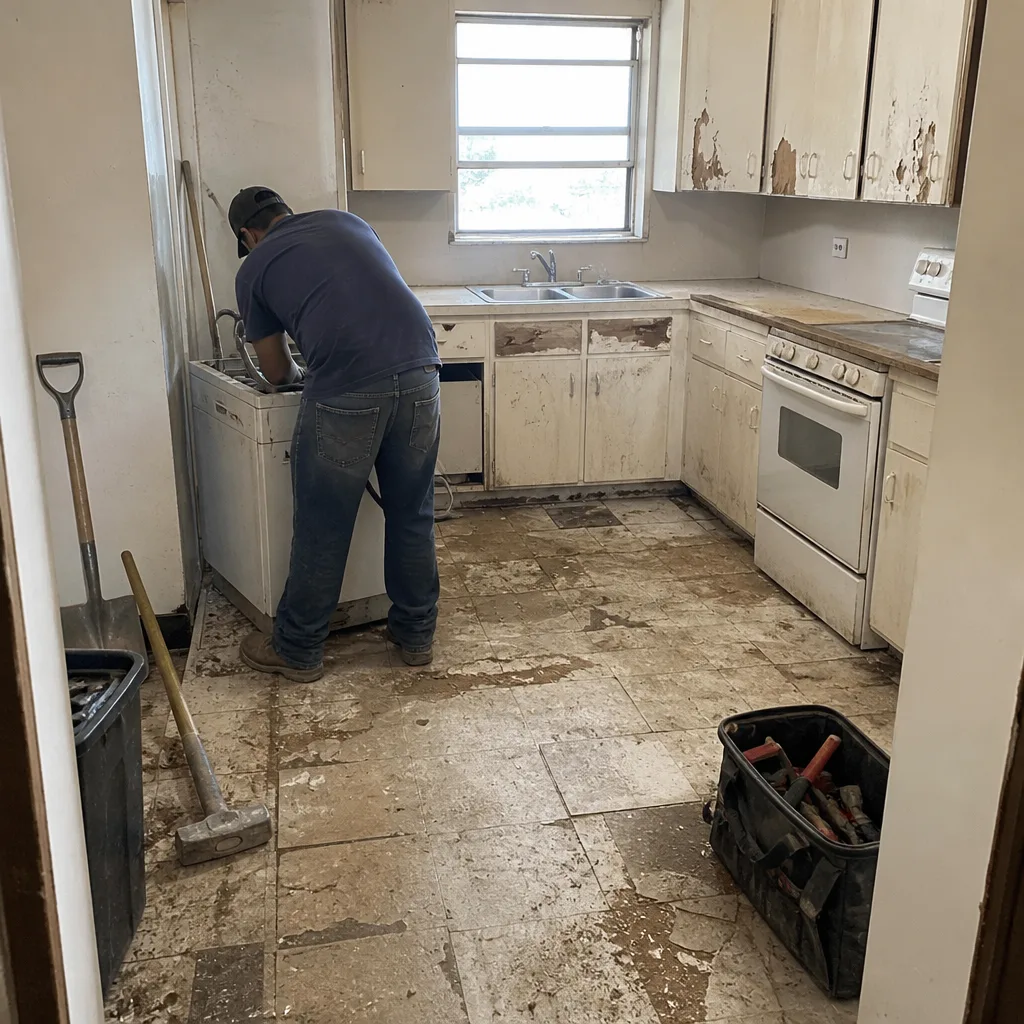 Before
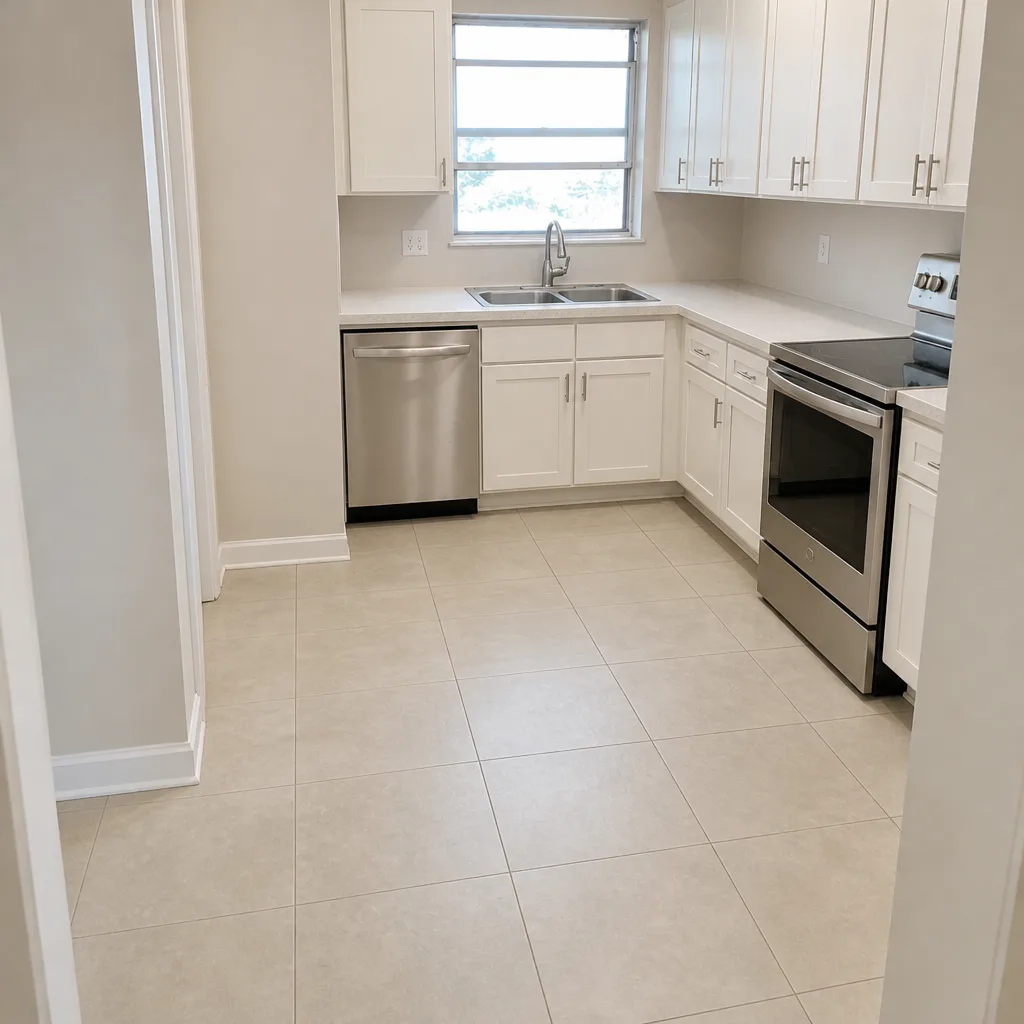 After
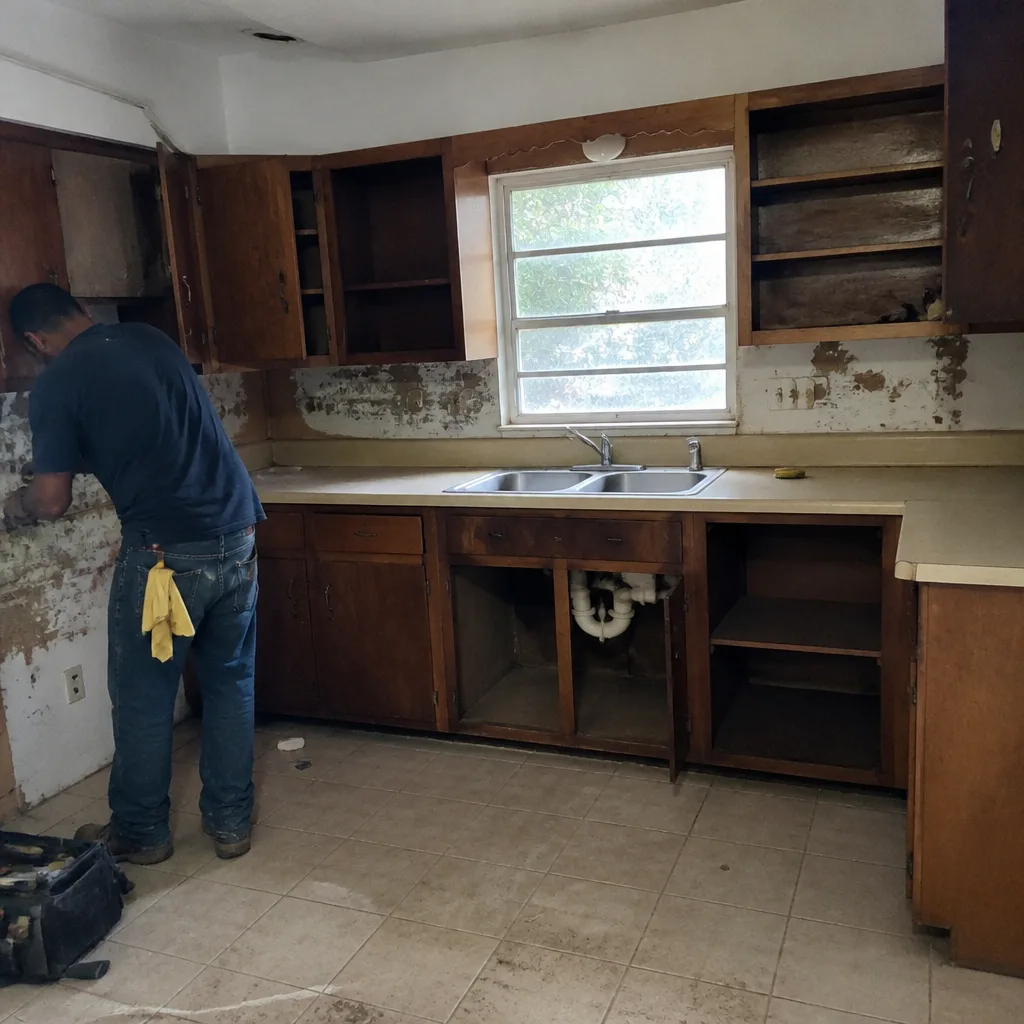 Before
 After
 Before
 After
When to Call a Professional
A few kitchen remodel problems are safe to fix yourself: a cabinet door that needs a hinge adjustment, a loose drawer slide, a caulk line that needs replacing. Most aren’t. Anything involving gas line work, electrical panel work, or the rough-in behind a wall belongs to a licensed trade, and taking it on yourself is how a mid-project problem becomes a safety issue. If you’re seeing substrate rot behind cabinets, an out-of-plumb cabinet run that’s more than 1/8 inch out, or a countertop template that doesn’t match the cabinets, walk away from the tools and call the GC. Bradford Remodeling Co Miami offers free estimates in Miami, and every written estimate includes the full scope. If you’re mid-project and need someone to inspect the handoff, call (844) 797-4435. We answer with a live person, 24/7.
Frequently Asked Questions

The most common one we see is the cabinet install starting before the rough-in inspection is signed off, which typically forces the cabinets back off the wall and adds two to three weeks to the schedule. The second most common is countertop template mismatch against an un-leveled cabinet run. Both are handoff failures, not individual trade failures.
A mid-range kitchen remodel in Miami takes 6 to 10 weeks from demo to final inspection, assuming the rough-in inspection clears on the first request. Add 2 to 3 weeks if it doesn’t. The variables that move the timeline most are substrate repair at demo and countertop fabrication lead time, which is usually 2 to 3 weeks for a Cambria or Caesarstone slab.
It depends on which measurement was wrong. If the template crew measured against an out-of-plumb cabinet run that the installer should have leveled, the installer is responsible for the re-template cost. If the template was measured correctly and the fabrication was wrong, the fabricator eats the cost. Your written cabinet install documentation is what decides which is true.
Yes, always. The delivery receipt is the retailer’s primary record of the appliance’s condition at delivery, and once you sign a clean receipt, the retailer treats any later damage as pre-existing. Note the specific defect in writing, have the driver sign, photograph every angle, and email the retailer within 24 hours.
Florida law requires written notice of the specific defect, tied to the contract scope, with a corrective action and deadline. Certified mail plus email is the standard documentation. The written rejection protects your position under Florida Statutes 489 and 713 without stopping the entire job. Withhold the estimated cost of the corrective work, not the full remaining balance.
Check the hinges first. If hinge adjustment corrects the door alignment, it’s a finish adjustment. If the box is out of square and hinge adjustment doesn’t correct it, the manufacturer replaces the cabinet. If the box is square but the run is out of plumb, the installer re-levels. Call the installer or GC before you touch the door yourself.
The Bottom Line
Kitchen remodel problems mid-project are almost never about one trade doing bad work. They’re about the handoff between trades, the documentation at each handoff, and the written scope that says who’s responsible when something goes wrong. Four checkpoints matter most: the rough-in inspection card, the cabinet level confirmation, the countertop template measurement sheet, and the signed delivery receipt. Get those in writing on every job, and you have the leverage to fix a problem without stopping the job. If you’re mid-project in Miami and need an inspection or a written scope, call Bradford Remodeling Co Miami at (844) 797-4435 for a free estimate. Every project carries the 365-Day Done Right Promise: if the work fails within a year, we return and make it right at no charge. We install premium, documented brands including KraftMaid, Cambria, Kohler, GAF, James Hardie, Therma-Tru, Barrette, and Master Halco, so every specification is traceable. If you’re weighing the rest of the home, see our General Contractor in Miami page and our Bathroom Remodeling in Miami page. Call (844) 797-4435 to schedule your free estimate.
Written by the team at Bradford Remodeling Co Miami.